AeroPress Instructions: The Inverted AeroPress Method
![]() Maryna Gray
• October 21, 2021 — last updated June 25, 2026
Maryna Gray
• October 21, 2021 — last updated June 25, 2026
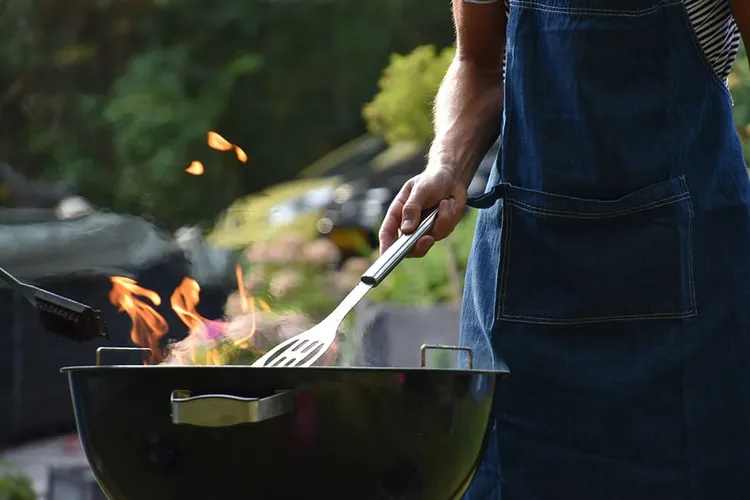
The AeroPress is the coffee maker I'd hand anyone who wants a great cup with zero fuss. Engineer Alan Adler invented it because he was tired of waiting on a drip machine, and the result is a little plastic plunger that makes a smooth, full-bodied, low-bitterness cup in about two minutes. It's nearly indestructible, packs anywhere, and it's honestly the most forgiving brewer I know. Here's how to get a great cup out of it.
Quick AeroPress recipe
- Coffee: 15 to 18g (about 2.5 to 3 tablespoons)
- Water: 200 to 250g
- Grind: medium-fine
- Water temperature: 185 to 205F (cooler for darker roasts)
- Brew time: about 1:30 to 2:00 total
What is an AeroPress?
The AeroPress is a simple immersion brewer: you steep coffee in hot water, then press it through a paper filter with gentle air pressure. It isn't the prettiest thing on your counter, but it's light, basically unbreakable, and it makes a clean, sweet cup every time. That combination is why it's my pick for camping coffee and travel.
What you'll need

- An AeroPress. The AeroPress runs about $30.
- Fresh coffee, ground to coarse sand (a medium grind).
- A burr grinder. A burr grinder gives you the even grind that keeps the cup clean.
- AeroPress paper filters. Name-brand or generic both work.
- A scale. Here are our coffee scale picks.
- A kettle. I like an electric gooseneck kettle for control.
How to use an AeroPress (the inverted method)
I brew with the inverted method, where the AeroPress sits upside down while the coffee steeps. It prevents drips and gives you full control over the steep time. Here's my go-to.
1. Heat your water. Bring it to a boil, or set a temperature kettle to about 205F (a touch cooler for dark roasts).
2. Prep the filter.  Drop a paper filter into the black cap and rinse it with hot water to wash out any papery taste. Shake it dry and set it aside.
3. Add your coffee.  With the AeroPress inverted (plunger down, chamber up), tare your scale and add about 15g (3 tbsp) of freshly ground coffee. Give it a shake to level, and tare again.
4. Bloom.  Start a timer and pour about 40g of water, twice the weight of your coffee, to wet all the grounds. Let it bloom for 30 seconds and enjoy the smell.
5. Pour the rest.  Add the remaining water, about 200g, up to near the top of the chamber.
6. Attach the cap.  Screw the filter cap on snugly.
7. Flip it.  At about the 2-minute mark, set your mug on top of the cap and carefully flip the whole thing over so it's sitting upright on the mug.
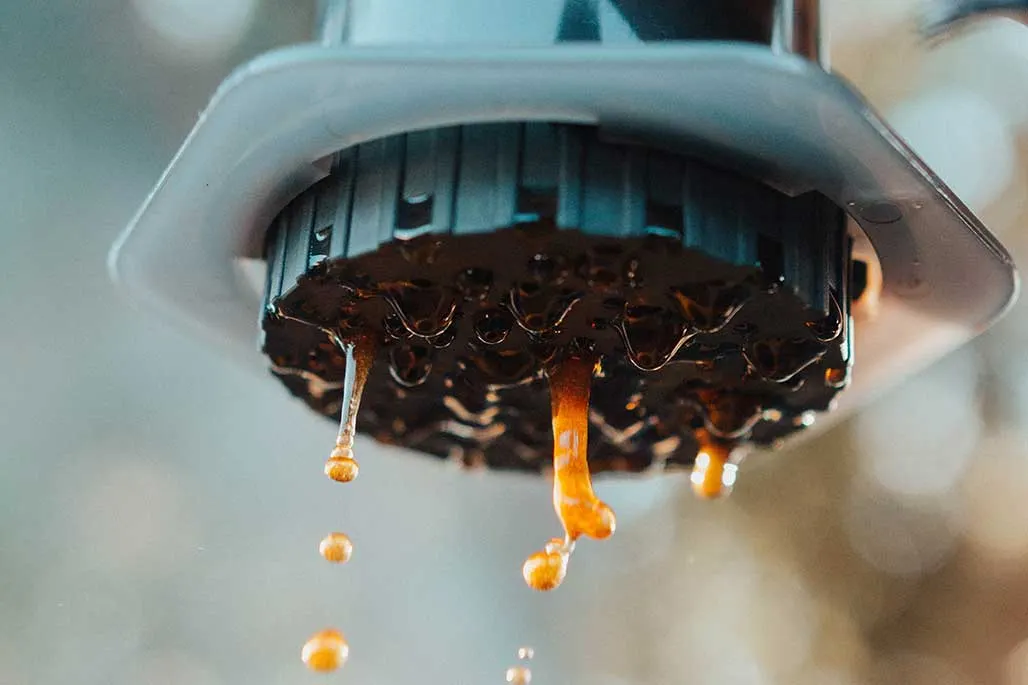
8. Press.  Press the plunger down slowly and steadily until you hear a gentle hiss, about 30 seconds. Stop at the hiss.
9. Serve.  That's it. Pour and enjoy. Want to go deeper? The World AeroPress Championship publishes its winning recipes.
The best coffee for an AeroPress
Light to medium roasts are gorgeous in an AeroPress. The quick extraction and paper filter give you a clean, bright cup that lets complex, fruity notes shine. That said, the AeroPress is so forgiving that it's a great place to taste your way through any roast.
How to clean an AeroPress
Refreshingly easy. Pop the cap, push the puck of grounds into the compost, and rinse. It's technically top-rack dishwasher safe, but a quick hand wash with warm water and unscented soap is all it needs. Every so often, pull the rubber seal off the plunger and give it a deeper clean.
Standard vs. inverted method
The standard method is simplest and least messy: the AeroPress sits right-side up on your mug and you press straight down. The inverted method, above, flips it during the steep, which stops early dripping and gives you more control over timing. Both make great coffee. What matters most is a consistent grind, timing, and ratio you can repeat.
AeroPress vs. AeroPress Go
The AeroPress Go is the travel version: a little smaller and lighter, and it nests inside its own cup with a lid. The original isn't bulky either, and honestly travels fine, so the Go is mostly about that tidy storage. They brew identically and cost about the same. Both also work with the Fellow Prismo attachment if you want a more espresso-like shot.
AeroPress vs. pour over
A pour over like the Chemex and the AeroPress both run hot water through a paper filter, but they're built for different moments. Pour over scales up to serve several people and gives you that crystal-clean cup; the AeroPress makes about one mug at a time, presses in two minutes, and travels anywhere. If you want a pour over that packs well too, the plastic Hario V60 is a great companion.
However you brew it, the AeroPress only gives back what you put in. Start with fresh, characterful beans and it'll reward you. Build a coffee plan and we'll keep great coffee on your counter, at home or on the road.
We want to help you make better coffee at home. Our recommendations are our own, and never sponsored. If you see something you love and buy it through our links, we may receive an affiliate commission (thanks for that!).