Why Your Home Coffee Tastes Worse Than the Cafe (And It's Probably Not the Beans)
 Maryna Gray
• May 26, 2026 — last updated June 05, 2026
Maryna Gray
• May 26, 2026 — last updated June 05, 2026
We all have the moment. You order a coffee at the cafe down the street, it tastes like chocolate and caramel and the kind of body that lingers on the second sip, and you love it so much you buy a bag of the same coffee to take home. A week later, you brew it the way you always brew, and the cup falls flat. Same bag. Same beans. Different planet.
I've watched this conversation play out for years with both home brewers and our roaster partners, and I can promise you, the bag is almost never the problem. The gap traces to four fixable variables, and they're not the ones you'd guess. Every other piece on the internet lists them, but none rank them by actual impact. Let me walk you through what's causing the gap, in the order that matters most.
One honest beat first: home coffee will never be exactly cafe coffee. You don't brew a hundred cups a day, and you don't have a barista dialing the grinder by taste at 7 a.m. The goal isn't identical. The goal is close enough that you don't keep buying takeaway every morning, and that's reachable for under $200 in basic gear.
The short answer
We all have a bag at home that doesn't taste like it did at the cafe — but most of the gap traces to four fixable things, in this order: water, grind, freshness, and how you measure. I'll walk you through each one.
- The order of operations. Water, then grind, then freshness, then ratio, then maybe the bean. Fix in this order, not in reverse.
- The one thing to fix first. Filtered water. It's the only variable that costs basically nothing and changes every cup you brew. Skip it and nothing else will save the cup.
- What technique actually buys you. Cafes brew the same recipe hundreds of times a day. Owning a $10 kitchen scale closes most of the consistency gap for free.
- The honest limit. Home coffee gets close to cafe coffee. Identical isn't the goal. Better than yesterday's cup is.
If you're skimming and need one takeaway: the bag is almost never the problem. The four variables above are.
Variable #1: water
Most home brewers spend on beans and brewers before they think about water. That's backwards: coffee is 98 to 99% water by mass. As Fellow's golden ratio piece puts it, "since coffee is 99% water, the larger number in the ratio is always water." The variable you didn't think about is the biggest one in the cup.
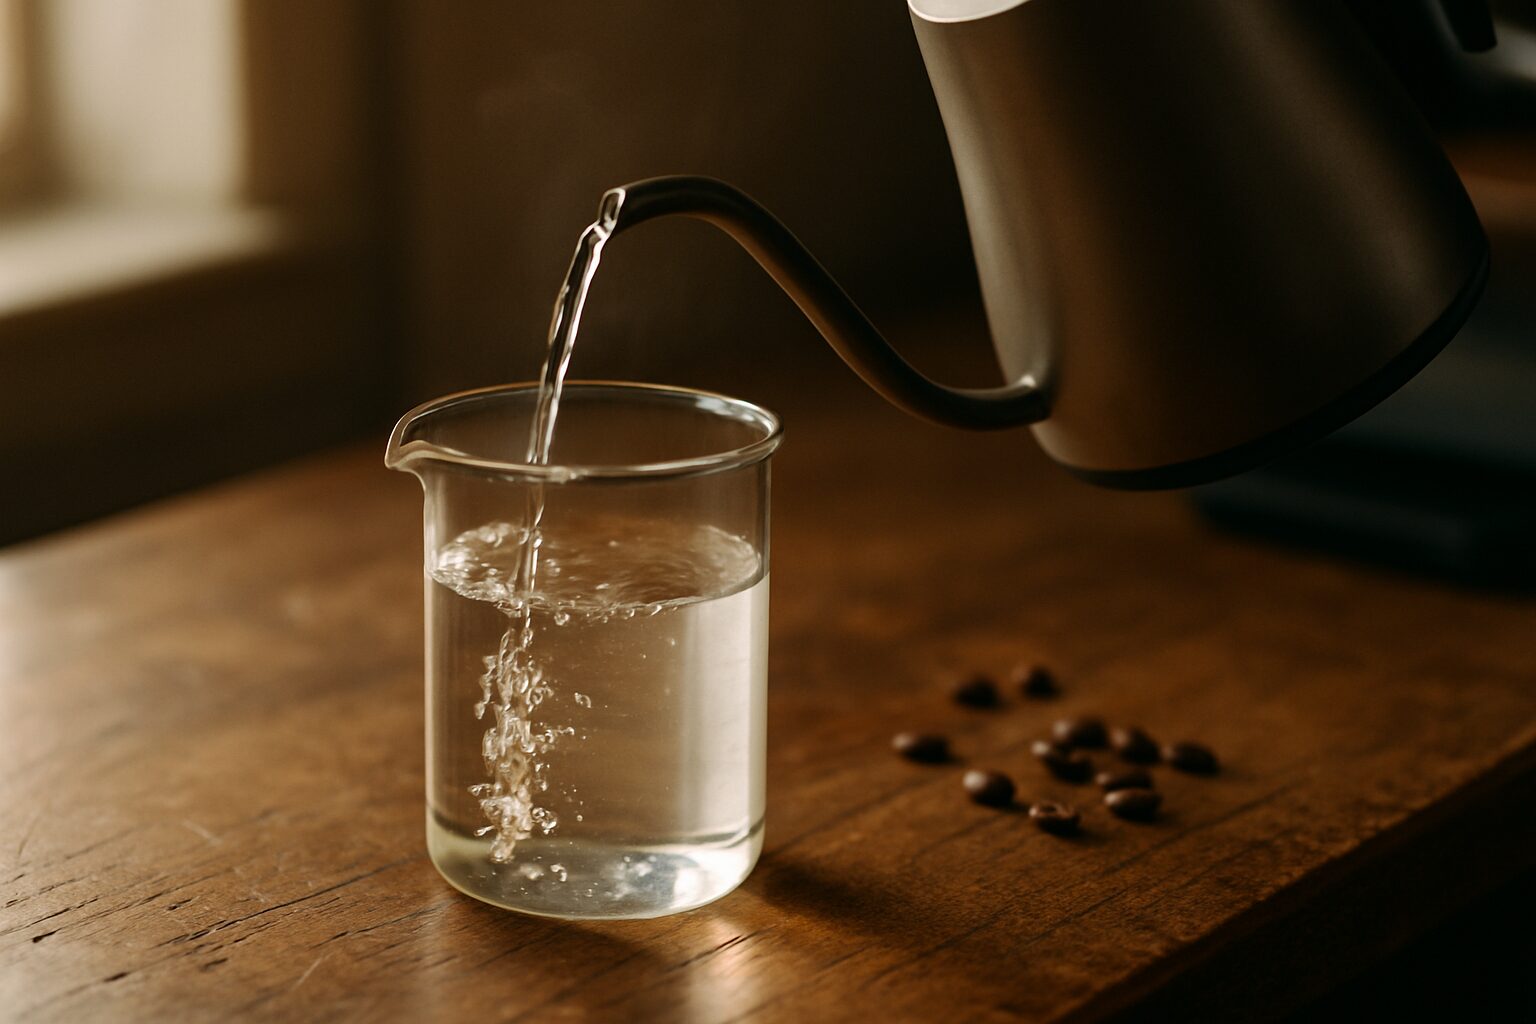
Three things go wrong when the water is the wrong water:
- Hard water (high calcium) makes the cup taste dull. Minerals over-bind to flavor compounds, and the acidity that makes a good coffee sparkle gets muted.
- Distilled or zero-mineral water makes the cup taste flat. There's nothing for the flavor compounds to bind to, and the body collapses.
- Heavily chlorinated tap water adds a faint chemical edge. You'd miss it in a glass of water; in specialty coffee it sits on top of every flavor and dampens it.
What does "good water" actually look like? The Specialty Coffee Association's brewing target is around 150 ppm total dissolved solids, in a working range of 75 to 250 ppm, with calcium hardness 50 to 175 ppm as CaCO3. (Third Wave Water's SCA water explainer walks through the standard in plain language.) In everyday terms: filtered tap water from a Brita-style pitcher or a fridge filter gets most of the way for most people. Avoid distilled. Avoid heavily-softened water that's been treated with sodium. If your tap water tastes funny in a glass, it'll taste funny in your cup too.
The fix costs almost nothing: a Brita pitcher, a fridge filter, or a kettle filled through a basic carbon filter. The difference in the cup is bigger than the difference in your bank account. Most home brewers can fix this for less than the cost of a 12-oz bag of coffee.
Variable #2: grind
Every cafe has a burr grinder. Every cafe grinds to order. Most home brewers either own a blade grinder or buy beans pre-ground. Both choices cap the cup before the water hits.
From our coffee sommelier
Maryna's weekly picks
“I taste thousands of coffees a year — I’ll only send you the few worth brewing.”
Something went wrong — please try again.
Free · Weekly · Unsubscribe anytime
Blade grinders chop. They produce a mix of fines (espresso-dust particles) and boulders (almost-French-press chunks) in the same dose. The fines over-extract and pull bitter compounds. The boulders under-extract and pull thin, sour ones. You get both flavors in the same cup, and your brain reads it as "muddled" without being able to name why. As The Manual's at-home tips puts it, blade grinders chop unevenly, while burr grinders produce uniform particles.
Pre-ground coffee solves the burr question but adds another problem: aromatics start escaping the moment beans are broken open. By the time the bag is two weeks old, ground coffee tastes flat where whole-bean still has its life intact.
A burr grinder uses two metal surfaces, flat or conical, that crush beans down to a set size. (A burr is the metal cone or set of plates inside the grinder that actually does the cutting.) Uniform particles mean even extraction, and even extraction means the cup tastes like the coffee instead of a chemistry experiment.
Why does this matter more than the brewer? "You can't fix stale beans, poor grind consistency, or bad water with a $2,000 espresso machine," The Manual writes. I'd extend that to drip and pour-over too. The brewer is a temperature-and-pressure delivery vehicle. The grinder decides whether extraction works at all.
I keep an entry-level burr grinder next to my pour-over kit at home. The first time I switched off pre-ground for one, the difference wasn't subtle. The bloom smelled like wet bread and brown sugar instead of like nothing in particular, and the cup tasted like the same coffee the cafe had been pouring me for a year. Finally. The bag hadn't changed. The grind had.
An entry-level burr grinder runs around $150 to $200 and outclasses every blade grinder on the market. We have a deeper-dive on how to grind coffee beans, and a Baratza Encore review for the specific pick. If a grinder isn't on the table this month, freshly-ground coffees where the grind happens right before shipping is the next-best move. The grind-size cheat sheet is the per-method reference if you want a target texture for every brew method.
Variable #3: freshness
There's a window. Outside the window, no technique can save the cup.
Most specialty roasters print a roast date on the bag. Look for it. The drinkable window for peak flavor is roughly 7 to 21 days from roast, per Milkhoney Coffee's at-home guide. The why: freshly-roasted coffee releases CO2 for the first few days (it's why the bags have a one-way valve). After about three weeks, the volatile aromatics that give specialty coffee its character start fading. By two months, the cup tastes flat regardless of what you do. We've got dedicated pieces on how long coffee lasts and how to store coffee beans if you want to go deeper.
The cafe has an advantage you can't replicate. Cafes turn through beans fast. A bag opened at 8 a.m. on Monday is empty by Wednesday. At home, that same bag stretches across two to three weeks if you brew daily, or longer if you don't. The bean is right; the calendar is the problem.
If you'd like to spend less time thinking about how old your beans are, the easiest cheat is to set your home up the way the cafe does: a steady supply of just-roasted coffee, in volumes you'll actually drink before it fades. Every coffee on Bean Box ships within days of roast. Our coffee subscription configurator lets you pick the roast level, the cadence, and the bag size that match how often you brew. A subscription isn't required, either. Buying a small bag every two weeks from a local roaster works the same way.
Variable #4: ratio and technique
Cafes are consistent because they brew the same recipe hundreds of times a day. Home brewers brew once or twice. The gap isn't gear; it's reps. The fastest way to close it is to stop guessing.
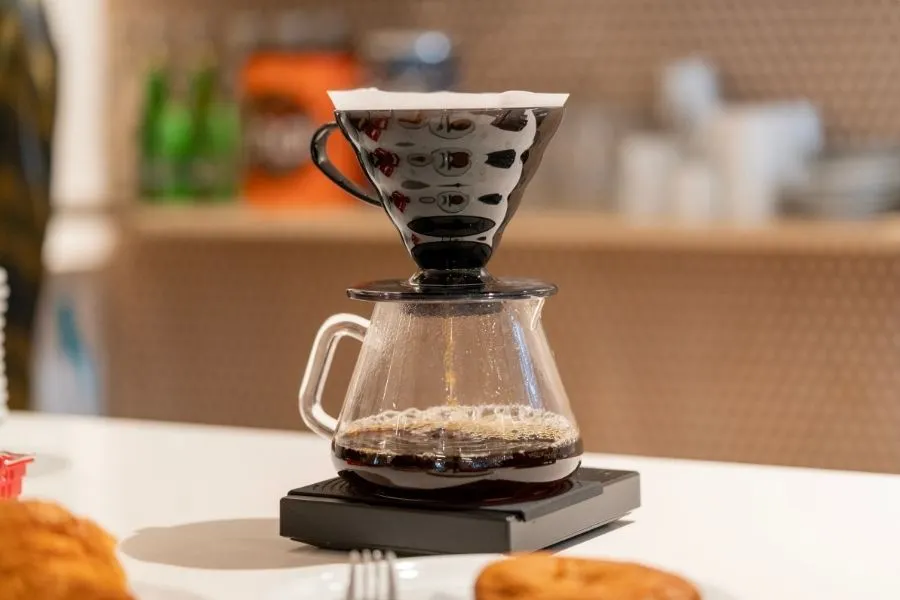
Start with the ratio. The SCA's golden ratio is roughly 1:18, or one gram of coffee per 18 grams of water. Most cafe pour-over recipes sit a touch stronger, at 1:15 to 1:17, for more body. A practical pour-over example: 22 grams of coffee, 350 grams of water, 1:16. Our coffee-to-water ratio calculator does the math for any batch size. There's no one correct ratio. The point isn't the exact number; it's brewing the same ratio every time so you can taste what's changing when something tastes different.
The scale is the most under-bought tool in home brewing, and the one with the biggest payoff per dollar. A $10 kitchen scale that weighs in grams gets you most of the way to cafe consistency. Stop using scoops. They vary by bean (a lighter roast is less dense than a darker roast), and you've been quietly under- or over-dosing for years. Weigh the coffee. Weigh the water. Use the same ratio twice in a row. Suddenly the cup is repeatable.
When I started weighing my pour-overs in grams instead of eyeballing scoops, I stopped having "good cup" and "bad cup" days. I had brewing days. Two days a week the cup tasted exactly like I expected. The other five, I knew what to tweak. That's the consistency the cafe is selling you, and you can buy it for ten bucks.
Then there's temperature. Brew between 195°F and 205°F, per Tasting Table's reasons coffee tastes bad. Boiling water (212°F) over-extracts and runs the cup bitter. Lukewarm water under-extracts and runs it sour. A kettle taken off boil for 30 seconds lands in the right zone for most kitchens.
If your cup tastes bitter, grind a hair coarser or drop the temp. If it tastes sour, grind a hair finer or push the temp up. We have dedicated diagnostics on each. If you're brewing espresso, dialing the grinder by taste is its own conversation — see how to dial in a new bag of espresso.
Variable #5: the bean
Here's where most home brewers point first, and where I point last. The bean is almost never the gap, if you're buying specialty coffee at all. The bean from the cafe and the bag they sell you to take home are usually the same roast.
What actually matters about the bean:
- Buy from a roaster, not a grocery shelf. Roasters print roast dates. Grocery shelves don't, and shelf-aged coffee has often been sitting for months by the time you grab it.
- Match the roast level to the brew method. Medium and medium-dark roasts are forgiving on the grind and the right starting place for filter brewing if you're learning. Light roasts shine in pour-over once you've nailed the dial-in. Dark roasts pull the classic espresso shot. The roast-levels explainer takes the deeper take.
- Whole bean, always, if you've got a grinder.
Switching brands won't fix water, grind, freshness, or ratio. The bag was almost NEVER the problem.
If you've tried everything
Quick recap, in order: water, grind, freshness, ratio, then maybe the bean. Fix the cheap ones first. A $10 kitchen scale, a Brita pitcher, and a $150 burr grinder get most home brewers 80% of the way to cafe coffee for under $200 total, on gear that lasts years.
Bean Box doesn't sell grinders or scales, which means I have nothing to push you toward on the gear side. I'm telling you to fix water and grind first because it's what every roaster I work with says when a customer writes in saying the beans don't taste right at home.
When the order's right, your morning cup smells like the bag promised. The bloom rises. The first sip lands sweet, the body lingers, the finish doesn't leave you reaching for sugar. None of that needs $2,000 in equipment. It comes from fixing the four variables in the right order. And then, if you want to point a fresh bag at the dialed-in setup, our best-sellers ship from dozens of independent roasters within days of roast.
Brew it. Trust me.
Posted in: Coffee Questions, How-To's
Tags: Home Brewing, Troubleshooting, Technique, Beginner, Water, Grind
We want to help you make better coffee at home. Our recommendations are our own, and never sponsored. If you see something you love and buy it through our links, we may receive an affiliate commission (thanks for that!).
From our coffee sommelier
Maryna's weekly picks
“I taste thousands of coffees a year — I’ll only send you the few worth brewing.”
Something went wrong — please try again.
Free · Weekly · Unsubscribe anytime